

Solar Power Knowledge
GTPOW 820W Balcony Solar Kit: Drill-Free Home Solar Solution
 gaotu
gaotuPicture this: every morning, the sun rises over your balcony—and instead of just warming your morning coffee, your 820W Balcony Solar Kit starts generating clean electricity for your home. No drilling. No rewiring. No waiting for permits. Just sunlight, a simple setup, and instant savings on your electric bill.
This isn’t a futuristic fantasy. It’s the reality of plug-and-play balcony solar, a movement that’s already taken Europe by storm. In Germany alone, over one million households had registered balcony solar installations by mid-2026—and that number continues to climb. Now, this technology is accessible to anyone with a balcony, patio, or terrace.
Let me walk you through exactly how it works, why it matters, and how you can set up your own system in under an hour.
Why Balcony Solar? The Case for Small-Scale Power
If you live in an apartment or a rental, traditional rooftop solar has never been an option. You don’t own the roof. You can’t get permits. The installation costs are prohibitive. And even if you could, the complexity of wiring and professional installation makes it a non-starter.
Balcony solar changes everything.
These systems are designed for people like you—renters, apartment dwellers, homeowners with limited outdoor space, or anyone who wants to dip their toes into solar without the commitment of a full rooftop installation. They’re affordable, portable, and surprisingly powerful.
A typical two-panel system costs around €500, compared to traditional rooftop systems that often exceed $10,000. The payback period? Often just a few years of reduced electricity bills.
Meet the GTPOW Balcony Plug & Play PV System
The GTPOW 820W Rigid Balcony Solar Kit is exactly the kind of system that makes this accessible residential solar a reality. Here’s the complete package you’ll get:
-
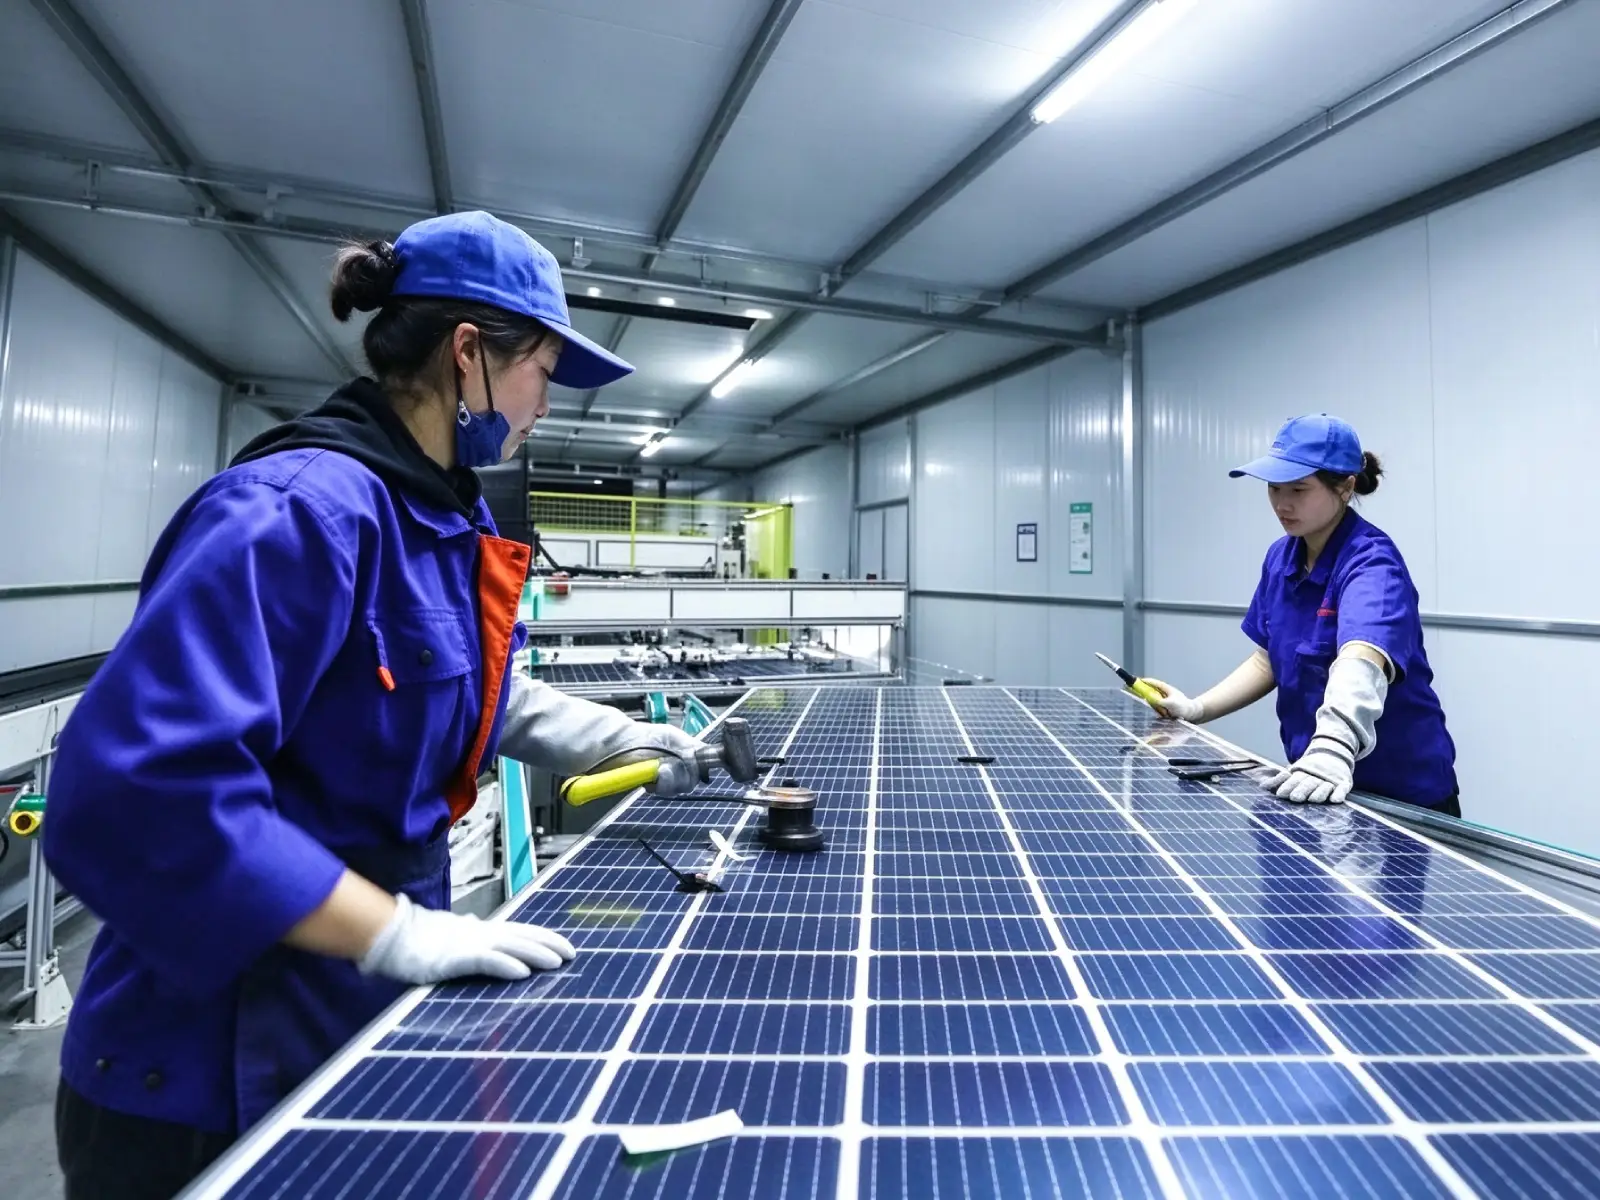
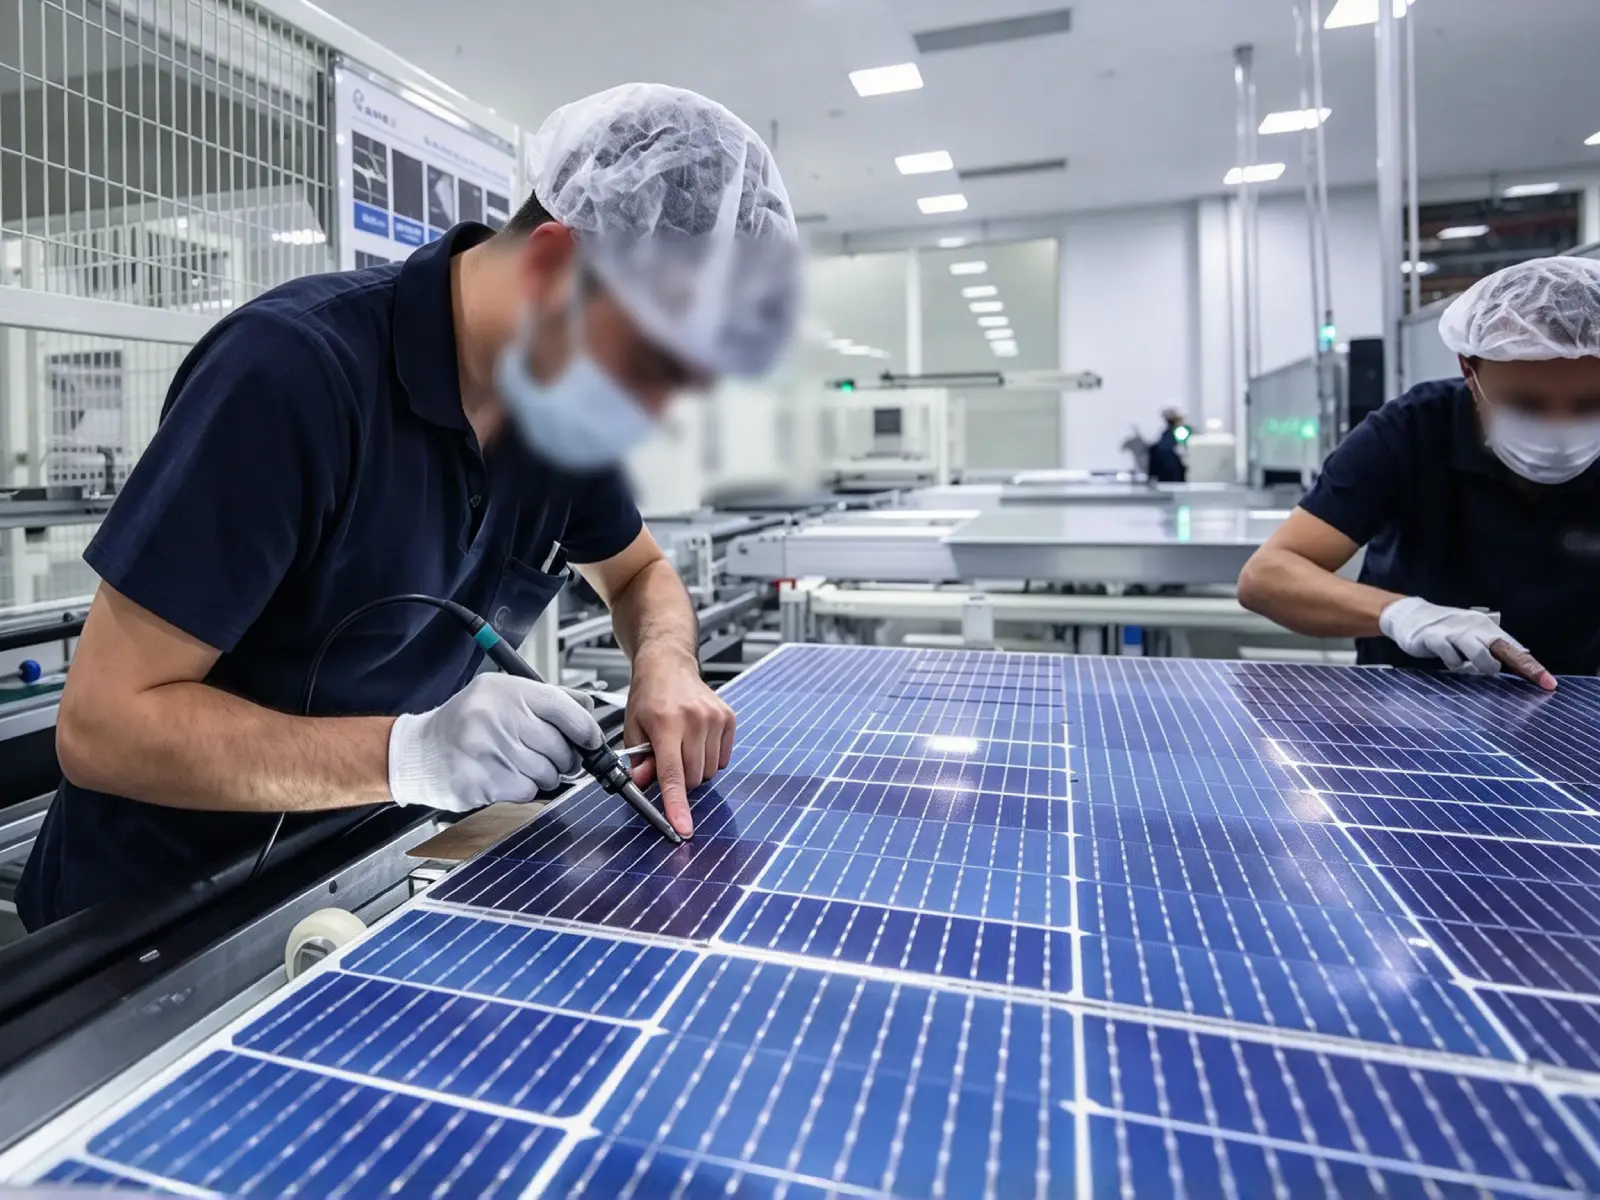
High-efficiency solar panels: Four 205W monocrystalline panels with up to 25% conversion efficiency, delivering top-tier performance for household solar power generation.
-
Grid-tied microinverter: Converts DC power generated by solar panels into AC power that all household appliances can directly use.
-
Drill-free mounting brackets: Comes with two installation options — railing strap mounting or freestanding triangular base, causing no damage to walls, railings or balcony structures.
-
Plug-and-play grid connection: No complex wiring work required. Simply plug the AC cord into a standard household wall outlet to start power generation.
-
All-weather durability: Weather-resistant structural design to withstand long-term exposure to sunlight, rain and extreme temperature changes.
The system features a flexible modular design. Whether you have a compact apartment balcony or a spacious terrace, you can freely configure single or multiple panels to perfectly fit your available space.
How It Works: The Simple Science Behind Balcony Solar
Before diving into the installation process, let’s break down the straightforward working principle of the system.
Solar panels capture sunlight and convert it into direct current (DC) electricity. However, all household electrical appliances run on alternating current (AC). This is where the supporting microinverter plays a key role — it efficiently converts DC power into usable AC power for your home.
The core advantage of this system lies in its power priority logic: solar power is consumed by your home first. Your refrigerator, Wi-Fi router, TV and other household appliances will prioritize using self-generated solar energy before drawing power from the public grid. Any unused surplus power will be fed back to the utility grid, effectively cutting down your monthly electricity bills.
It’s equivalent to having a silent, efficient mini power plant on your balcony, operating automatically throughout the day.
Step-by-Step Installation: Build Your Balcony Power Plant in 4 Steps
The entire installation process only takes 30 to 60 minutes with no professional electrician required. The detailed steps are as follows:
Step 1: Mount the Brackets
Fix the mounting brackets on your balcony railing posts with the matching binding straps and fasteners. For a freestanding setup, assemble the triangular base and place it steadily on the balcony floor. Ensure all parts are firmly fixed without shaking or wobbling to guarantee overall stability.
Pro tip: A south-facing installation spot is optimal for maximum all-day sunlight exposure. East or west-facing balconies are also viable — they will generate peak power in the morning and afternoon respectively.
Step 2: Install the Solar Panels
Mount the 205W rigid solar panels on the pre-fixed bracket crossbeams, and fasten all panels tightly with the supporting fittings. The panels are fully weatherproof and rigid, supporting year-round outdoor use.
Step 3: Mount the Microinverter
Install the microinverter on a shaded lower section of the balcony railing. Direct sunlight will raise the device temperature and reduce power generation efficiency. A shaded installation keeps the microinverter cool, extends its service life, and avoids water accumulation and wiring obstruction.
Step 4: Complete Wiring & Grid Connection
Connect the DC cables between solar panels and the microinverter. Finally, plug the microinverter’s AC plug into a standard household wall outlet. The system will automatically start grid-tied solar power generation.
That’s all — your balcony solar power plant is officially operational.
Maximize Your System: Key Usage Tips
After successful installation and commissioning, follow these tips to ensure safe, efficient and long-term operation:
-
Use an independent wall socket: For safety and stable performance, plug the system into a fixed standard wall socket instead of a power strip or extension cord.
-
Track power generation status: Household appliances will consume solar power first. You will see the most obvious energy-saving effect on sunny days, covering daily equipment such as refrigerators, routers and TVs.
-
Check local regulations in advance: Though plug-and-play solar systems are designed for hassle-free use, it is recommended to check local utility registration rules. In most regions, the registration process is simple or unnecessary. You can also briefly inform your landlord in advance.
-
Support gradual expansion: Thanks to the modular design, you can start with a small number of panels and expand the system later as needed to improve power generation and save more electricity costs.
Final Thought: Take Control of Your Household Energy
Balcony solar is far more than a money-saving tool. It empowers ordinary families to take control of their own energy consumption. It breaks the barriers of traditional solar energy — making clean renewable energy accessible to renters, apartment residents and anyone who refuses the high cost and complex construction of rooftop solar systems.
Mature technology, ultra-simple installation and immediate practical benefits make balcony solar the best choice for household green energy upgrade.
The sun shines on your balcony every day. Why not make it work for you?
Related Posts
Can You Put Solar Panels on Apartment Balcony Without Drilling?
1. Why Traditional Solar Panels Fail for Apartment Renters Many apartment renters and urban dwellers…
Flexible vs Foldable Portable Solar Panels: Which Fits Your Custom Project?
Executive Summary: Selecting the ideal structural form factor is the very first technical decision B2B…

Which portable solar panel factory supports ODM design?
All listed manufacturers provide professional ODM services: independent structural design, appearance development, electrical parameter customization,…

Leave a Reply