

Solar Power Knowledge
Flexible PV Array MPPT Charge Controller Complete Wiring Tutorial
 Gaotu Innovation
Summary
Incorrect MPPT wiring will burn controllers, trigger hotspots and cut power output. This step‑by‑step tutorial covers series‑parallel configuration, cold‑weather Voc risk, cable selection, safety rules and post‑test steps for RV, van and marine flexible solar PV arrays.
Quick Answers
- ✅ Always connect battery first, then solar panels when wiring MPPT controllers
- ✅ Cold‑morning Voc over‑voltage is the top cause of MPPT controller burnout for flexible arrays
- ✅ Never mix panels with different Vmp / wattage within one single string
- ✅ Series raises voltage; parallel raises current; keep voltage‑drop below 3%
- ✅ Poor wiring worsens overheating & hotspot risks described in our flexible panel thermal guide
Many installers underestimate wiring risks for flexible solar PV arrays. Even high‑quality ETFE flexible panels will under‑perform or suffer permanent damage if paired with misconfigured MPPT charge controllers. Voltage mismatch, wrong string layout, reversed polarity and ignored cold‑temperature Voc often lead to burnt‑out equipment. This tutorial builds on our high‑power flexible solar panel system design guide and the article about flexible solar panel overheating, focusing on practical wiring for RV, camper‑van and marine off‑grid projects.
Key Pre‑Wiring Calculations You Must Finish First
Do not start physical wiring before finishing these critical calculations from panel datasheets:
- Voc (Open‑Circuit Voltage): Pay special attention to cold‑temperature Voc. Panel open‑circuit voltage rises in cold weather and can exceed your MPPT maximum PV input rating.
- Vmp (Maximum‑Power Voltage): All panels in one series string must have matching Vmp values.
- Isc / Imp: Confirm total array current stays within MPPT controller’s maximum PV input current limit.
- System battery voltage: Confirm 12V / 24V / 48V battery bank before selecting controller and string layout.
Real‑world example: Multiple flexible 18V Vmp panels wired in series may work fine on warm afternoons, yet blow the MPPT unit on cold, sunny winter mornings due to elevated Voc.
Series vs Parallel Wiring For Flexible Solar Panels
Series Wiring
Connect panel positive terminal to next panel’s negative terminal. Series connection increases total voltage while current stays unchanged.
- Pros: Reduces cable current, lowers voltage drop over long cable runs
- Cons: One shaded panel drags down the whole string output; must strictly watch cold‑weather Voc ceiling
- Best‑fit: Long wiring distance, well‑unshaded RV roof / boat deck surfaces
Parallel Wiring
Connect all positive terminals together; connect all negative terminals together. Parallel increases total current, voltage remains equal to single‑panel Vmp.
- Pros: Partial shading only impacts individual panel instead of the whole string; safer for surfaces with frequent partial shade
- Cons: Higher current requires thicker PV cables to avoid excessive voltage drop
- Best‑fit: Marine decks and RV roofs with regular antenna / vent shading; 12V battery bank setups
Series‑Parallel Mixed Layout Rules
- Every series string connected in parallel must contain identical quantity and identical‑spec flexible panels
- Never mix strings with different Vmp or different cell counts on the same MPPT channel
Step‑by‑Step MPPT Charge Controller Wiring Procedure
Important safety rule: Complete all wiring work under dim light or cover panels to prevent live high‑voltage DC arcs.
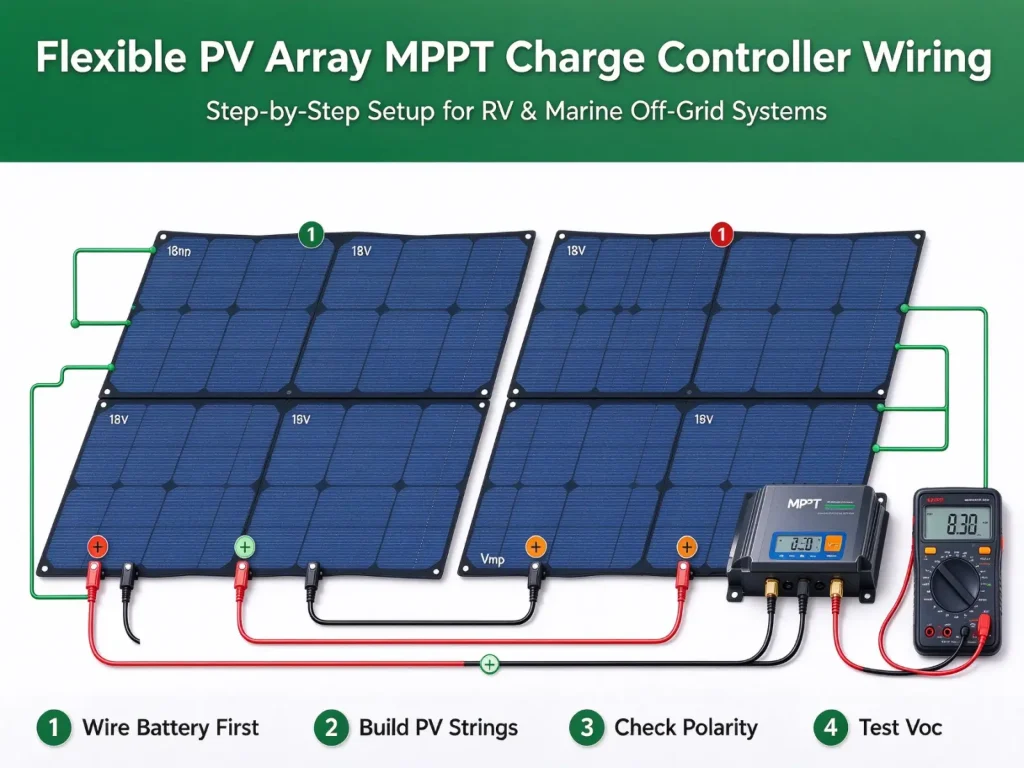
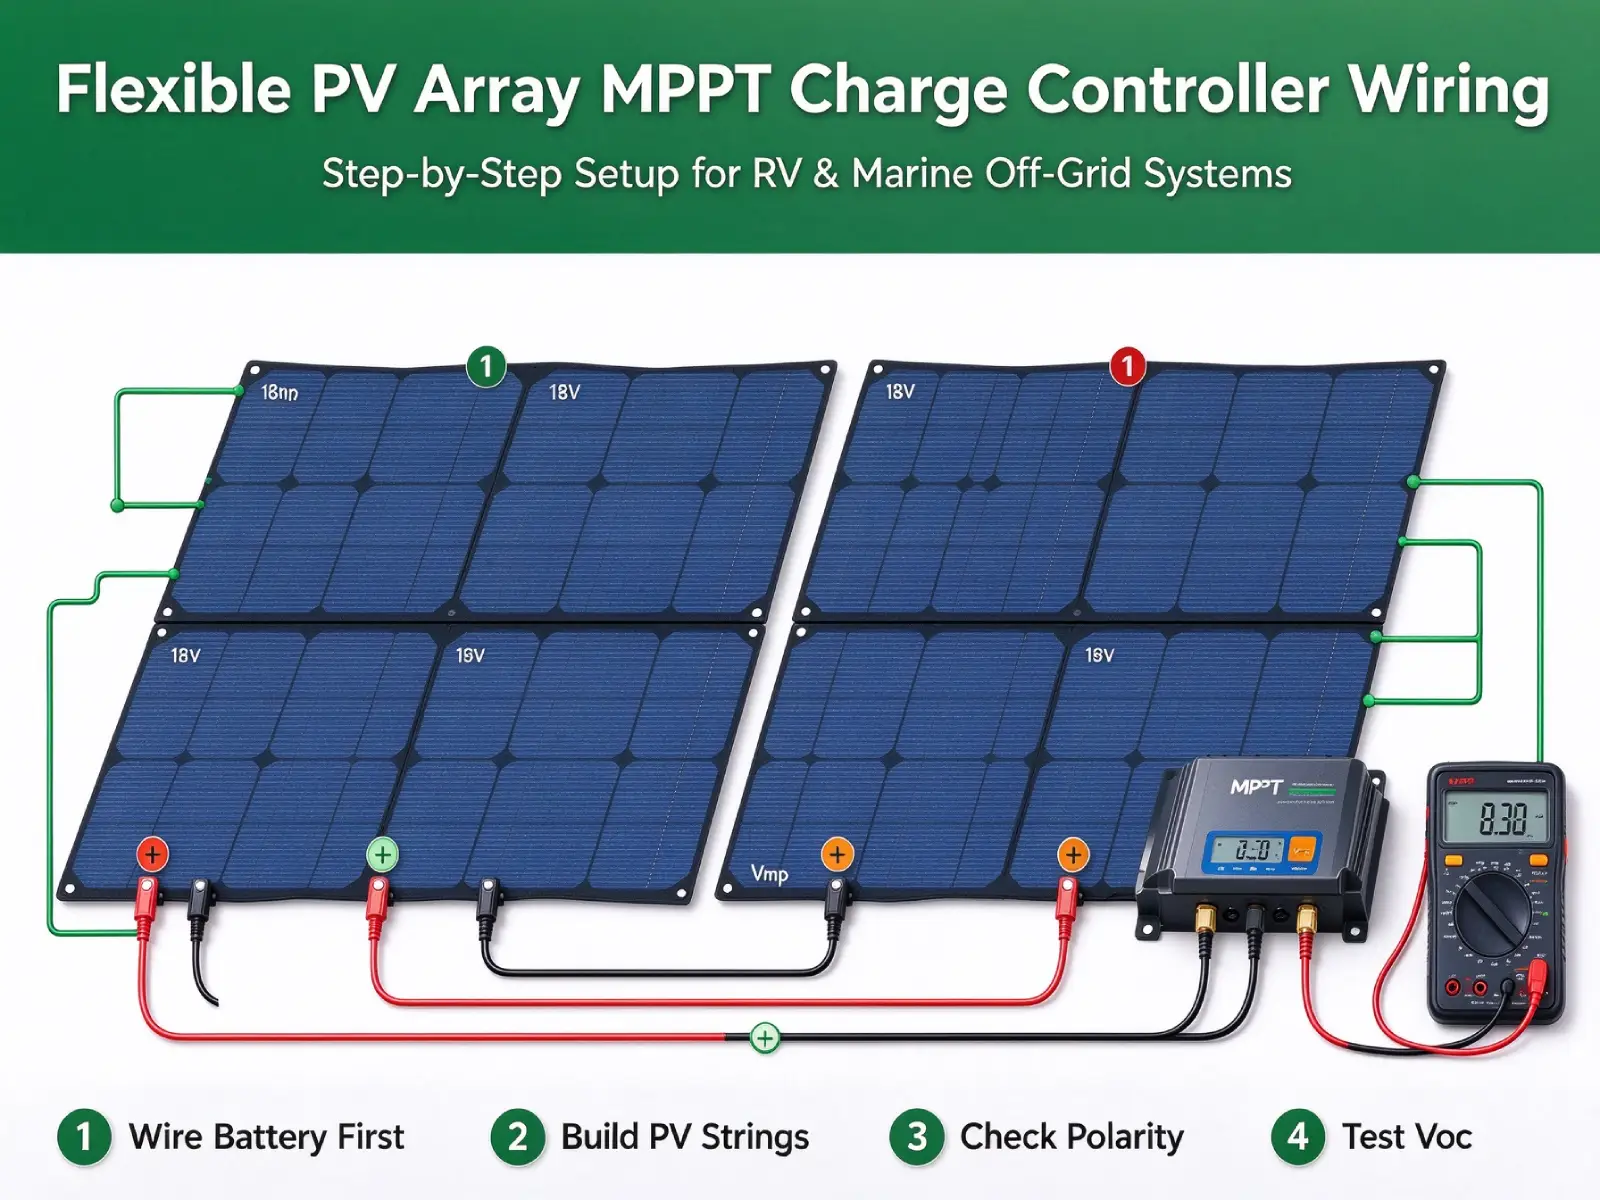
- Step1: Wire battery bank to MPPT controller FIRST
- Connect battery positive → MPPT battery positive terminal
- Connect battery negative → MPPT battery negative terminal
- Install fuse within 50cm of battery positive pole. Confirm controller powers‑on and correctly reads battery voltage.
- Do NOT reverse this sequence: connecting solar panels before battery can permanently damage MPPT electronics.
- Step2: Complete flexible solar array string assembly
- Build series / parallel strings strictly following your pre‑calculated layout.
- Double‑check MC4 polarity, lock all MC4 connectors fully clicked.
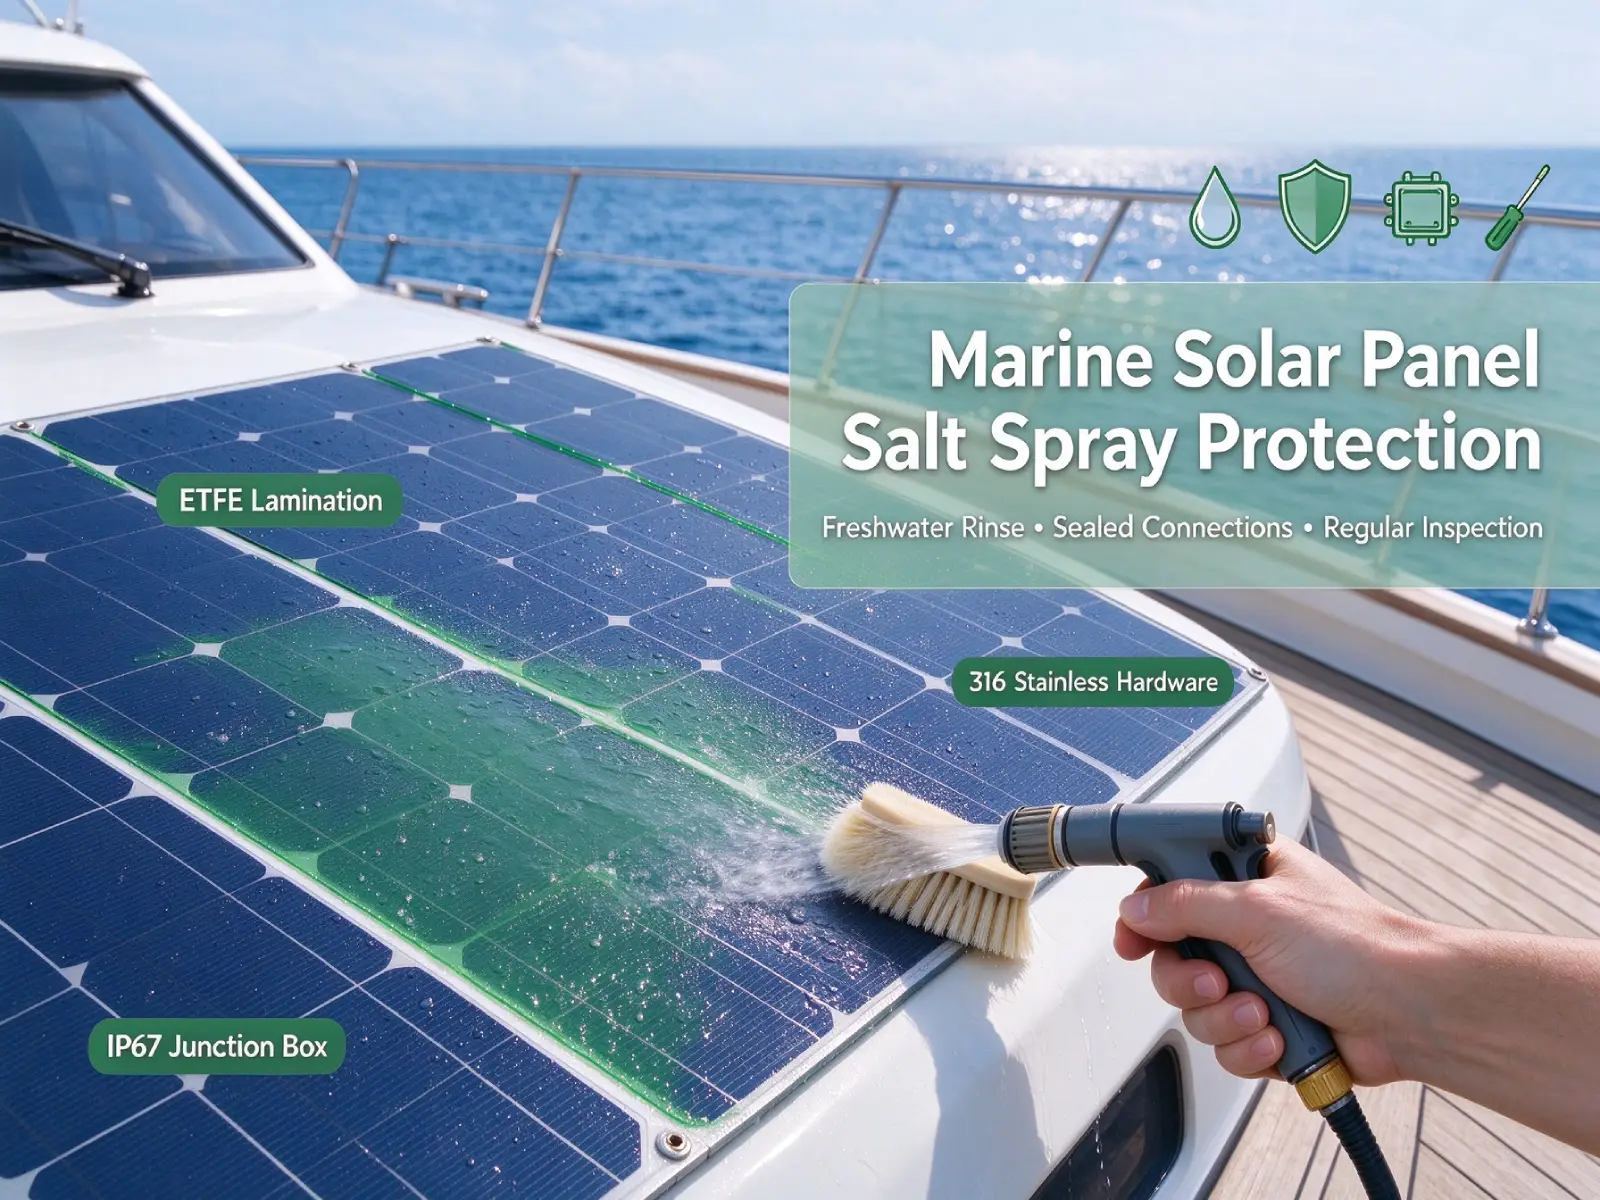
- For marine installation, implement drip‑loop design as mentioned in our marine solar panel salt‑spray maintenance guide.
- Step3: Connect assembled PV array to MPPT PV terminals
- Array positive output → MPPT PV+
- Array negative output → MPPT PV‑
- Double‑check polarity once more; reversed PV polarity will stop charging function.
- Step4: Set controller charging parameters
- Select correct battery profile: LiFePO4 / AGM / Gel / Flooded lead‑acid
- Adjust absorption and float voltage values following battery manufacturer official specs.
- Step5: Post‑installation functional testing
- Under sunlight, verify PV input voltage & charging current shown on MPPT screen.
- Compare real‑world readings with your theoretical design values to spot mismatched strings or bad connections.
- Feel terminals for abnormal over‑heating which indicates loose connections.
Cable Gauge & Voltage‑Drop Guidelines
Target: Keep PV‑side voltage drop below 3% for RV and marine flexible solar arrays.
- Use UV‑resistant PV rated solar cable for roof / deck exposed sections.
- Marine projects require tinned copper cable to resist salt‑atmosphere corrosion.
- Higher‑current parallel layouts need thicker wire cross‑section to avoid heat and power waste.
Dangerous Common Wiring Mistakes To Avoid
- Ignoring cold‑temperature Voc limit, only calculating Voc under 25℃ room temperature → MPPT burnt on cold mornings.
- Connect solar panels before hooking‑up battery bank → controller internal circuit damage.
- Mixing different‑Vmp flexible panels in same series string → severe hotspots, accelerated panel aging, reference our overheating article.
- Too‑thin PV wire, excessive voltage drop → large real‑world power loss.
- Loose MC4 or screw terminals → high‑resistance hot points, fire risk.
- Parallel‑connect series strings with different quantity of panels → cross‑current circulation, low overall array output.
- Missing fuses on battery positive side or PV array side.
FAQ
Q: Can flexible solar panels use PWM charge controllers?
A: Technically yes, but not recommended. MPPT recovers much more power when flexible panels run hot, which is very common for bonded‑mount flexible PV. PWM wastes large amounts of available power for high‑power flexible arrays.
Q: My MPPT shows zero PV input voltage under bright sun. What should I check first?
A: First inspect reversed PV polarity; second check for incompletely‑clicked‑in MC4 connectors; third verify broken wires inside the string.
Q: Can I add extra flexible panels to my existing old solar string?
A: Only if new panels have identical Vmp, Imp as existing modules. Mixing new and aged panels creates mismatch losses and hotspot risks.
Q: How many flexible panels can I put into one MPPT series string?
A: Calculate maximum allowable panel count using cold‑weather Voc plus 10% safety margin against controller max PV input voltage, not just rated Vmp.
Need Custom PV Wiring Layout Review?
Our engineering team reviews flexible solar array string design, MPPT controller selection and cable specification for RV converters, boat builders and off‑grid integrators. Send your project drawing and battery parameters via our contact page for professional suggestions. Custom flexible‑panel OEM options are available via OEM & ODM service.
Related Posts
Best Solar Panel Suppliers for Wholesale & OEM Projects (2026 Guide)
In recent years, flexible solar panels have seen booming demand for overseas wholesale, project supporting…
Best Flexible Solar Panels for RVs: Roof‑Fit and System‑Matching Guide
Key Takeaways Select the best flexible solar panels for your RV based on usable roof…

Solar Panel Wholesale Supplier Guide: How to Source Bulk Supply Direct from a Factory
If you are looking for a solar panel wholesale supplier and want to cut out…


Leave a Reply